Are you looking to resize a pdf file? Pdfs are device independent and are a standard for printing these days. Many a times, a pdf may need to resize or scale to fit for a printing job or for posting for a web project. Read this perfect guide to resize your pdf file.
Pdfs can be resized, cropped or scaled with Adobe Acrobat or with some other third party tools available as free.
Easy methods to resize a pdf file
We will discuss here few easy methods for resizing a pdf file, one with the Adobe Acrobat, other with the Quite Imposing, a plugin used with Adobe Acrobat and lastly we will see a method to convert a pdf into an image and manually resizing the image in Microsoft Word 2019.
Resize a pdf in Adobe Acrobat
I have a pdf flyer in letter-sized paper (8.50 x 11.00 inches), I want to resize it to a ledger-sized paper (17.00 x 11.00 inches). Follow these simple steps.
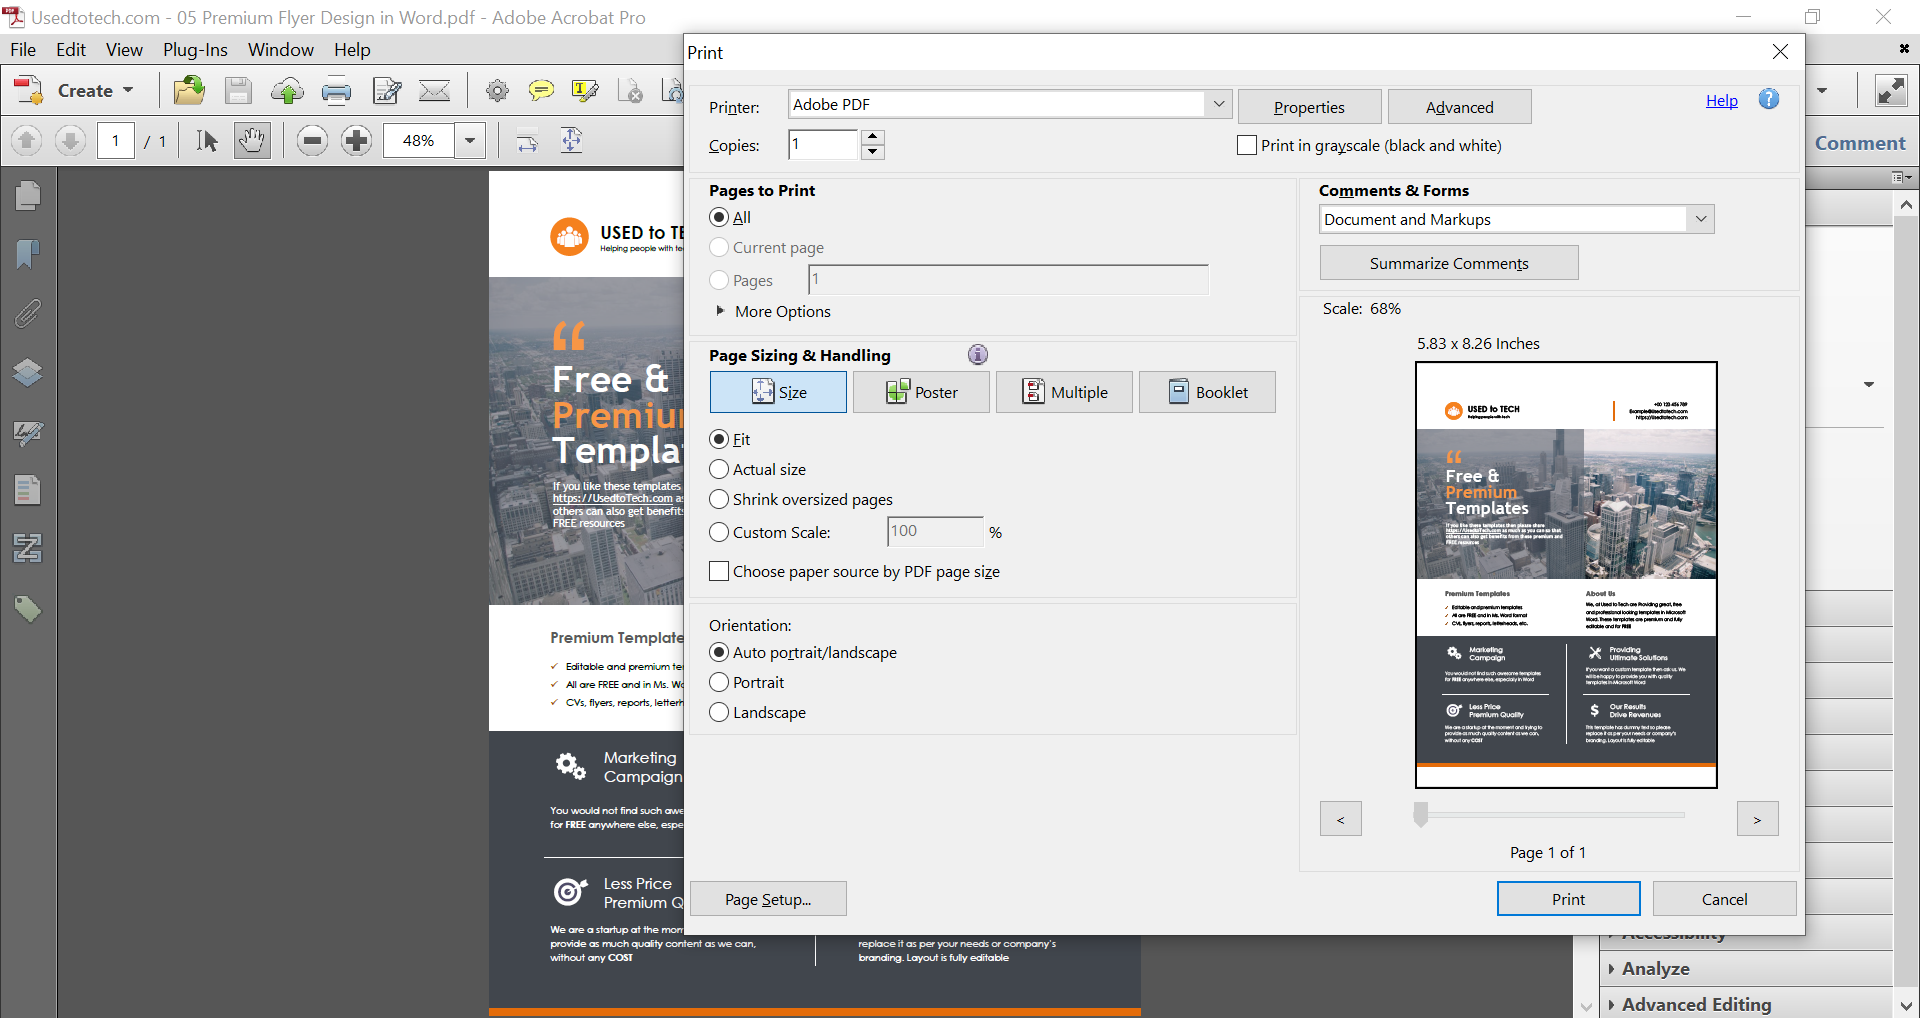
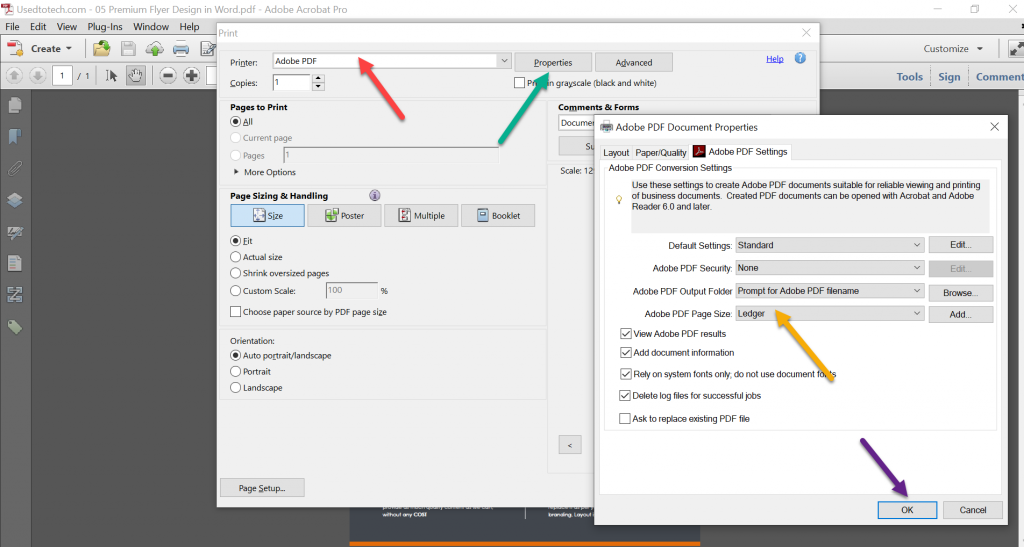
Open your pdf in Acrobat. Open a Print dialog box by pressing CTRL+P. Select Adobe PDF from the Printer drop-down. Click on the Properties button. Select a Ledger page size from the Adobe PDF Page Size drop-down and click OK. Leave other settings as they are. I’m resizing here my pdf to a Ledger, you can choose any other size of your choice.
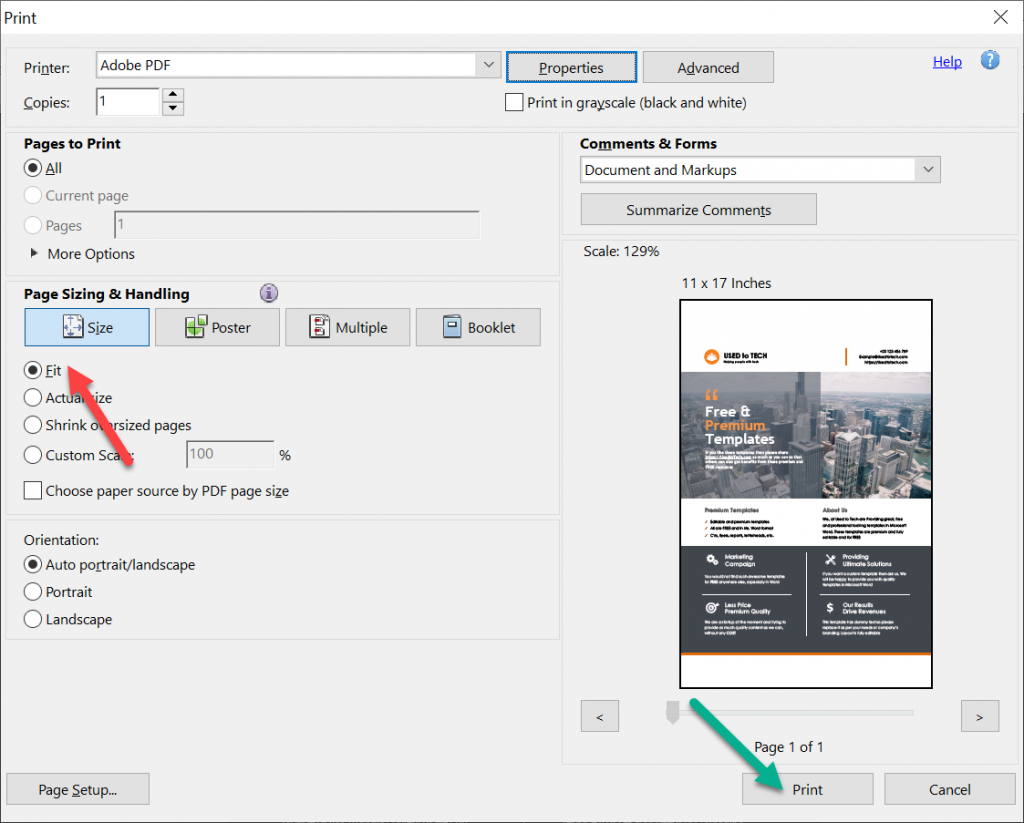
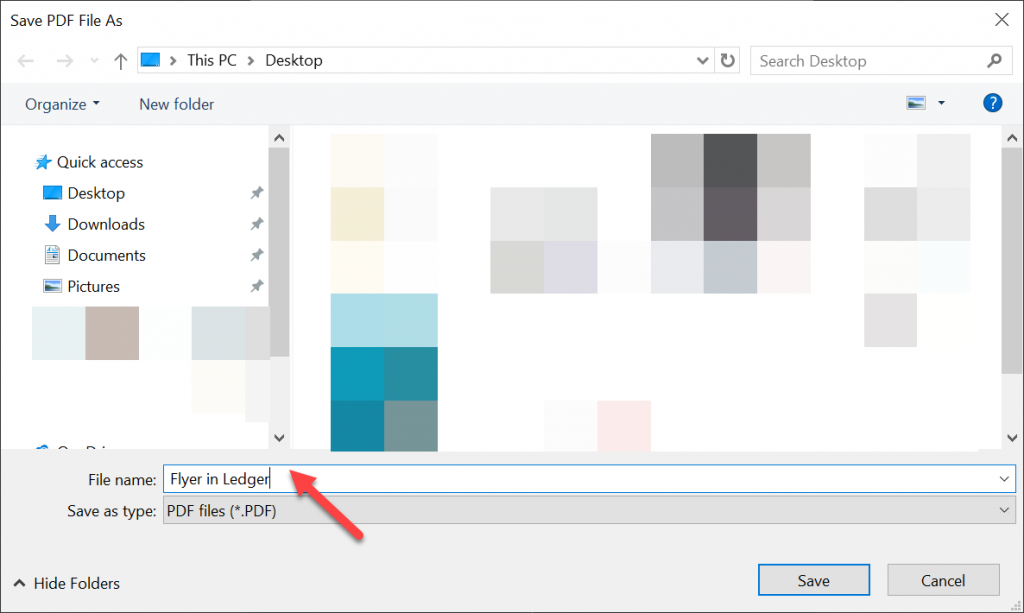
Make sure the Fit is selected under Page Sizing & Handling on Print dialog box. Now click on the Print button at the bottom. Acrobat will now ask you to save your new pdf file, save it accordingly to your required location.
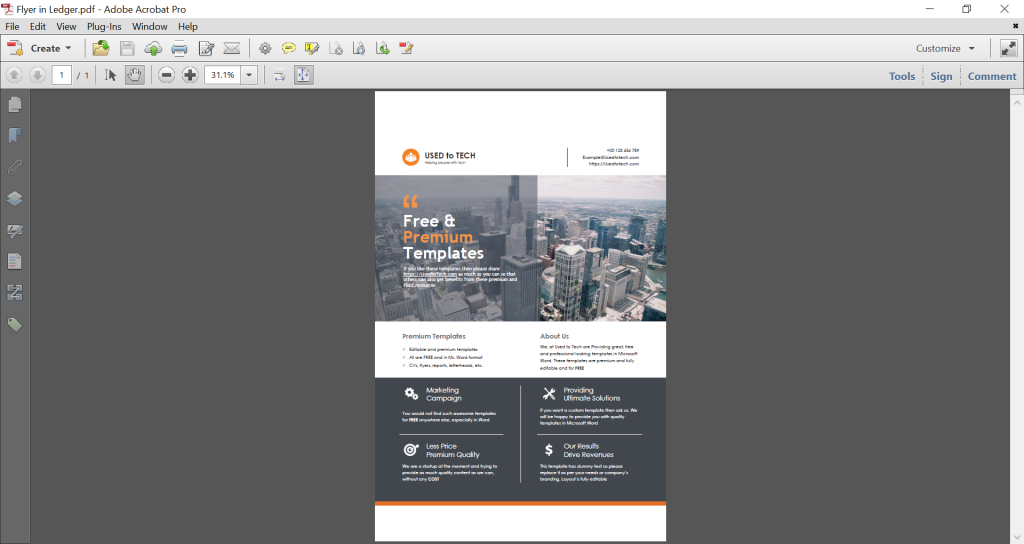
Output of the resized pdf will be something like the following image. You would see some white space at the top and the bottom of the resized pdf. Adobe Acrobat scales the pdf proportionally, this is the reason of this extra white space. If Acrobat scales the width and height of the pdf separately then there would not be any such white space there.
Crop extra white space from pdf in Adobe Acrobat
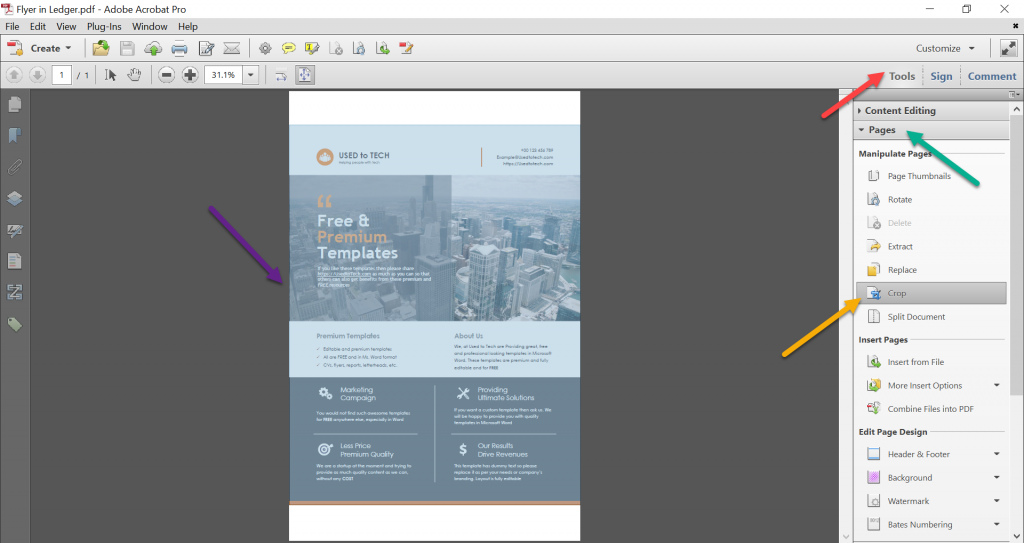
No worries for this extra white space as we can remove it with Crop feature through the following simple step. Keep the resized pdf open in Acrobat. Go to the Tools pane > expand the Pages group > click on the Crop button and select only the area of the pdf you need, leaving the white space.
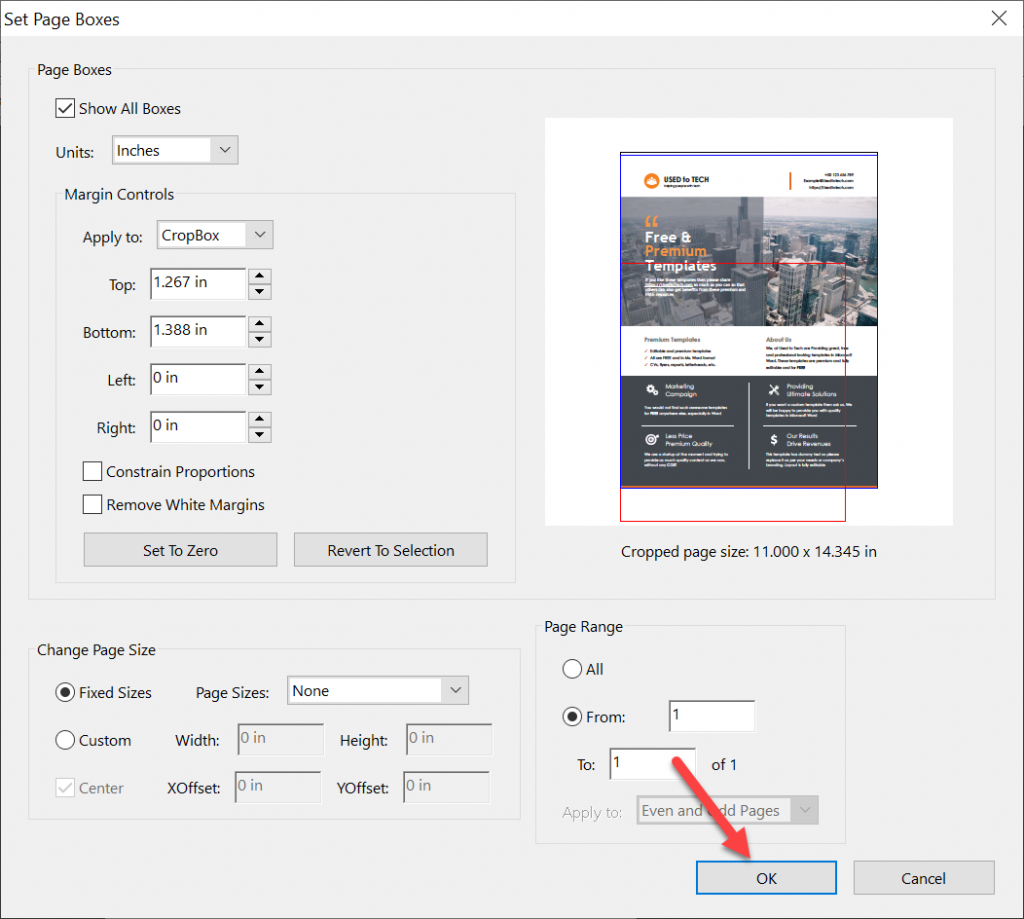
Then double click on the selected area. Set Page Boxes dialog will open, leave the settings there as they are and click on the OK button.
Pdf has been resized and cropped. Save your pdf now. The result will be something like this, it has now a custom paper size.

Resize a pdf with Quite Imposing plugin
If you have Quite Imposing plugin installed in Adobe Acrobat then the above process can become more straightforward for you. Open your pdf in Acrobat. Go to the Plug-Ins menu > Quite Imposing Plus 3 (my version) then click on Adjust page sizes…

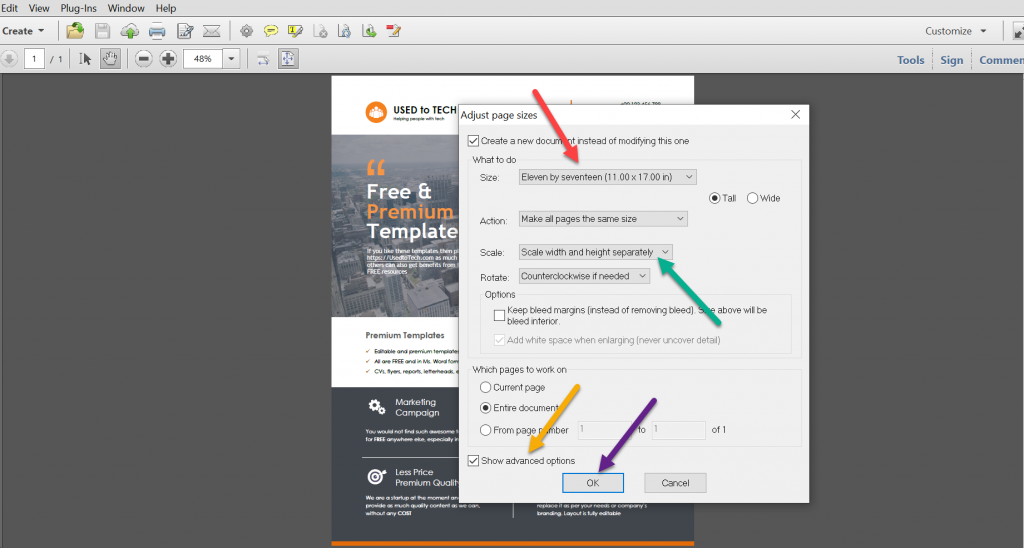
On the Adjust page sizes dialog box select a paper size from the Size drop-down. Make sure to check on Show advanced options at the bottom. Select Scale width and height separately from the Scale drop-down. Click on the OK button and see the results. Quite Imposing will make a new modified pdf, leaving the original one untouched.
You will then notice a perfectly resized pdf with no extra white space at top or bottom, the reason is that Quite Imposing scaled the width and height separately. The downside is that the resized pdf will not look as sharp as the original one because of the non-proportional scaling.
If scaling affects the quality much then simply select the Scale width and height equally from the Scale drop-down of the Adjust page sizes dialog box and remove the extra white space as described here: Crop white space from pdf.
Resize a pdf in Microsoft Word 2019
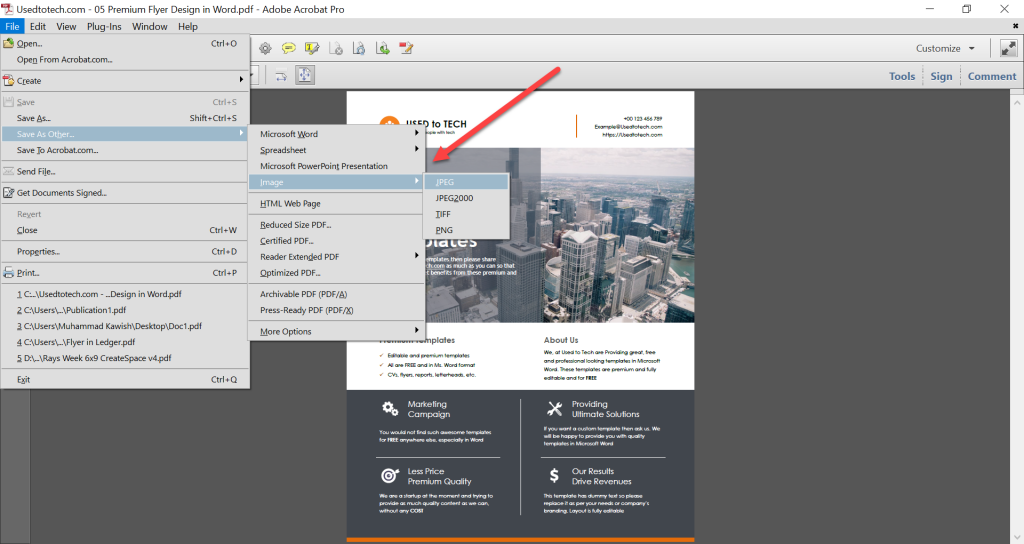
For resizing a pdf in Ms Word, we will first convert the pdf into a jpeg image. Open your pdf in Acrobat. Go to File > Save As Other… > Image > JPEG. Change image quality as needed and save it wherever you like. If you don’t have Acrobat installed then use any of the free online pdf to image converters. Google it, you can find many such online converters.
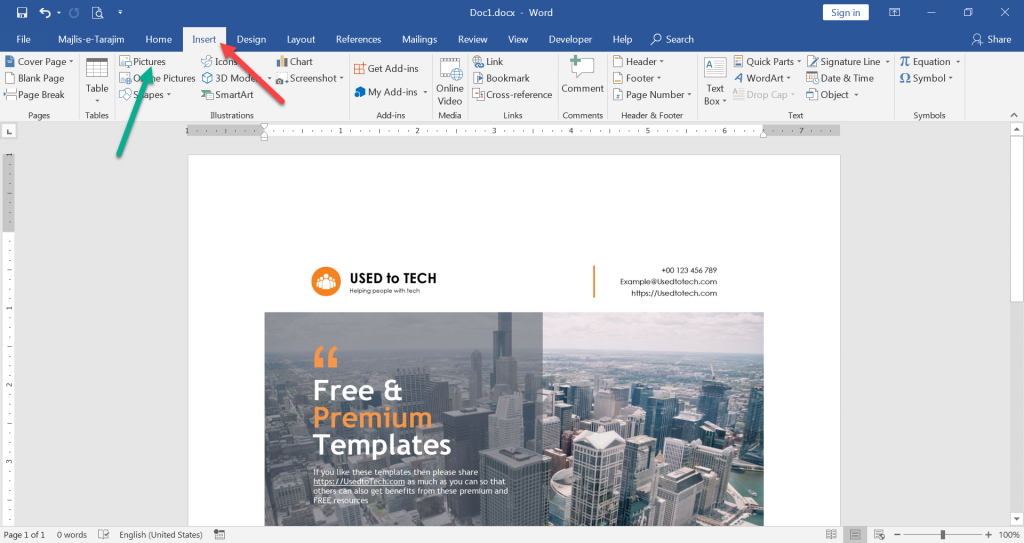
After converting your pdf into a Jpeg image, open a New Microsoft Word document. Go to the Insert tab > Click on the Pictures button > Browse and Insert the picture into the Word doc.
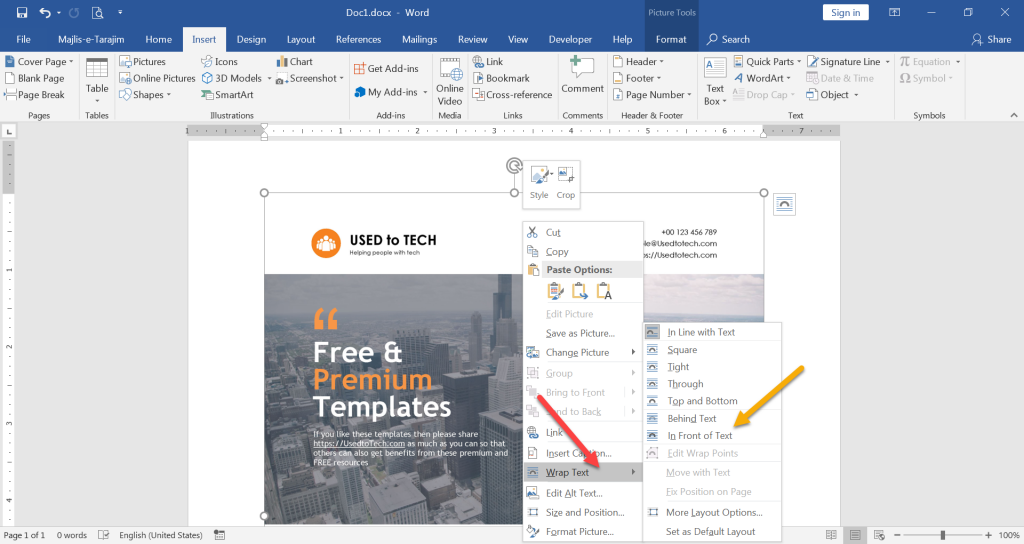
Select the image and Right Click on it > Go to Wrap Text > and select In Front of Text. Now simply resize the image through the handles of it to match your desired size.
After resizing the image, convert the Word doc into pdf again by pressing the F12 key or going to File > Save As. It will open a Save As dialog box, select the PDF from the Save as type and save your pdf. You are done with resizing a pdf. However, take care of the quality of the image especially when using this method. Keep the resolution of the image as high as possible for the best results.
For modifying a global template in Microsoft Word 2019, read the tutorial here.
Great article, really help me to resize the page size to its contents